
Approve print placement by defining the visible artwork size, its measurement references and the garment sizes covered by the decision. A centered mockup can communicate the design direction, but the supplier also needs a repeatable way to locate that graphic on the actual T-shirt or hoodie. Record the position on a representative sample before releasing production.
For apparel buyers, a useful placement approval answers three questions: what is being measured, where does the measurement start, and which sizes use that instruction? This guide focuses on local prints on finished garments. Treat designs that cross panels or require printing before assembly as a separate development brief with the supplier.
Define the artwork edge before choosing its position
Start with the visible graphic, not just the dimensions of the file canvas. A file may contain transparent margins above or beside the artwork. If the buyer measures to the visible top edge while the operator positions the file boundary, both can follow their own interpretation and still produce different results.
State the visible print width and height, preserve the intended proportions, and identify the reference boundary used for placement. For a graphic with isolated dots or fine elements, mark which element defines its top and sides. Send the current artwork revision and a simple drawing in the apparel tech pack so the instruction travels with the correct file.
Resolve the printing method during development. Ask the supplier to confirm the usable area for the selected garment and process. A large area shown on a generic template does not establish that the intended graphic fits this style, size and construction.
Give “centered” a measurable meaning
For a center-front print, agree how the garment centerline is established when laid flat. One practical convention is the midpoint between the side edges at the relevant chest level, with the garment aligned and relaxed. Name that convention in the drawing rather than assuming everyone will infer it from a photograph.
For the vertical position, identify a particular point or seam. For example, a crewneck instruction can measure straight down the centerline from the center-front seam where the neck rib joins the body to the visible top of the artwork. This differs from measuring from the upper edge of the rib or from a high shoulder point. Choose one basis and use it consistently.
An asymmetric design needs an additional decision. Its bounding box can be geometrically centered while its visual weight appears offset. If the designer wants an optical adjustment, record the approved offset and reference it to the garment’s left or right as worn. Avoid an instruction such as “move slightly left” without a defined viewing convention.
An example of a usable print placement instruction
The following fictional base-size example shows how to remove ambiguity. Its dimensions are design choices for illustration; choose actual values through sampling.
| Field | Example instruction |
|---|---|
| Scope | Adult crewneck T-shirt, base size M, front placement, artwork revision A |
| Visible artwork | 240 mm wide × 120 mm high; exclude transparent canvas margins |
| Horizontal location | Visible artwork bounding-box center aligned with the agreed garment centerline |
| Vertical location | Visible artwork top 80 mm below center-front neck-to-body seam, measured straight down centerline |
| Measurement state | Finished garment laid flat, relaxed and aligned; before the agreed care trial |
| Release coverage | Base size M only; other sizes pending size-range review |
Attach the placement drawing and measured sample record to this instruction. Add separately agreed limits for print dimensions and location after the supplier has confirmed what the process can achieve. The example remains incomplete for bulk release until those limits and the size mapping are settled.
Check the space around hoodie pockets and seams
A pullover hoodie introduces boundaries that a plain T-shirt does not have. Review the bottom of the graphic against the top of the pouch pocket, the hood and neck construction above it, and the side or armhole seams around it. Specify any required clearance from the identified seam rather than copying a T-shirt position onto the hoodie.
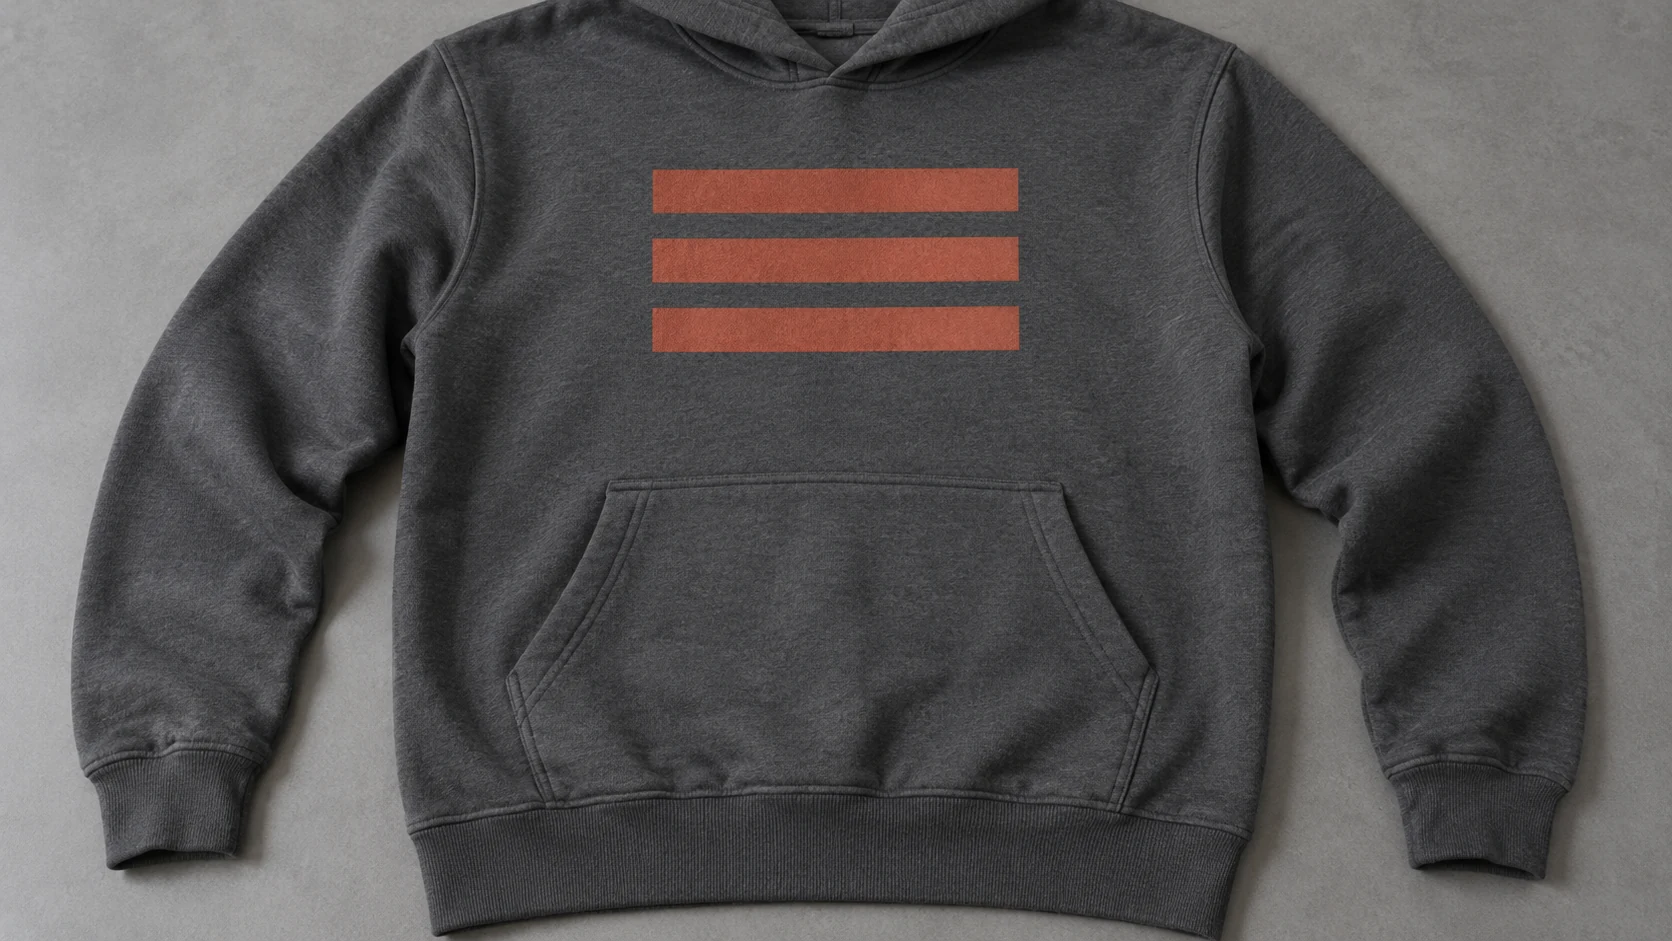
Printful’s garment-printing guidance explains that raised seams, pockets and zippers can interfere with a flat printing surface. This supports checking construction during placement development; confirm the handling limits of your own supplier’s process. A design that intentionally spans a seam or zipper needs specific sample review before approval.
For a back print, check how the hood rests over the upper graphic during wear. For a sleeve print, define the selected sleeve, the reference seam or cuff and the intended orientation. A front-only drawing cannot settle those placements.
Choose fixed artwork or size groups deliberately
Decide whether the same visible artwork dimensions apply across the size range or whether defined groups need different sizes. A fixed print can occupy more of a smaller body and appear less prominent on a larger one. Grouped artwork adds file and production instructions that must remain traceable.
Automatic scaling is supplier-specific. Printful describes a generally fixed-size approach with downscaling exceptions for some smaller products. Ask your manufacturer to state its rule, then approve the intended dimensions and coordinates by size or size group.
Use the size-set review to examine the smallest and largest relevant constructions as well as the base size. Check pocket clearance and graphic proportions on the selected sizes. Record the scope of any review that relies on drawings rather than physical decorated samples.
Approve appearance and record the numbers together
Review the decorated sample laid flat using the stated measurement method, then review its appearance in the intended wearing position. Keep the visual decision and the measured instruction connected. If the garment sits unevenly, investigate the garment alignment before treating every apparent tilt as a printing problem.
Define measurement tolerances for the relevant dimensions and offsets. Where a care trial is required, state whether acceptance is assessed before or after it. Retain the approved artwork, drawing and decorated reference through golden sample management, with the sample size and revision clearly identified.
For print placement development with Yinuo Apparel, send the garment style, size range, artwork file, intended print method and placement drawing. Include visible print dimensions, measurement anchors, any pocket or seam clearance, and the sizes covered by your current approval. These inputs help the team turn the design into a repeatable sampling brief.