

Manufacturing without a tech pack is possible, but specification approval is still essential. Reference photos, a garment you are authorized to use, sketches and a plain-language brief can start the discussion. The factory and brand then need to turn those inputs into agreed measurements, materials, artwork, construction and a sample before bulk production.
The first goal is not to make your document look like a professional designer’s file. It is to remove the assumptions that would otherwise become the wrong fit, fabric or print. This guide gives a step-by-step development route and a copyable first-brief template for a founder working with a cut-and-sew factory.
What a reference photo can—and cannot—tell a factory
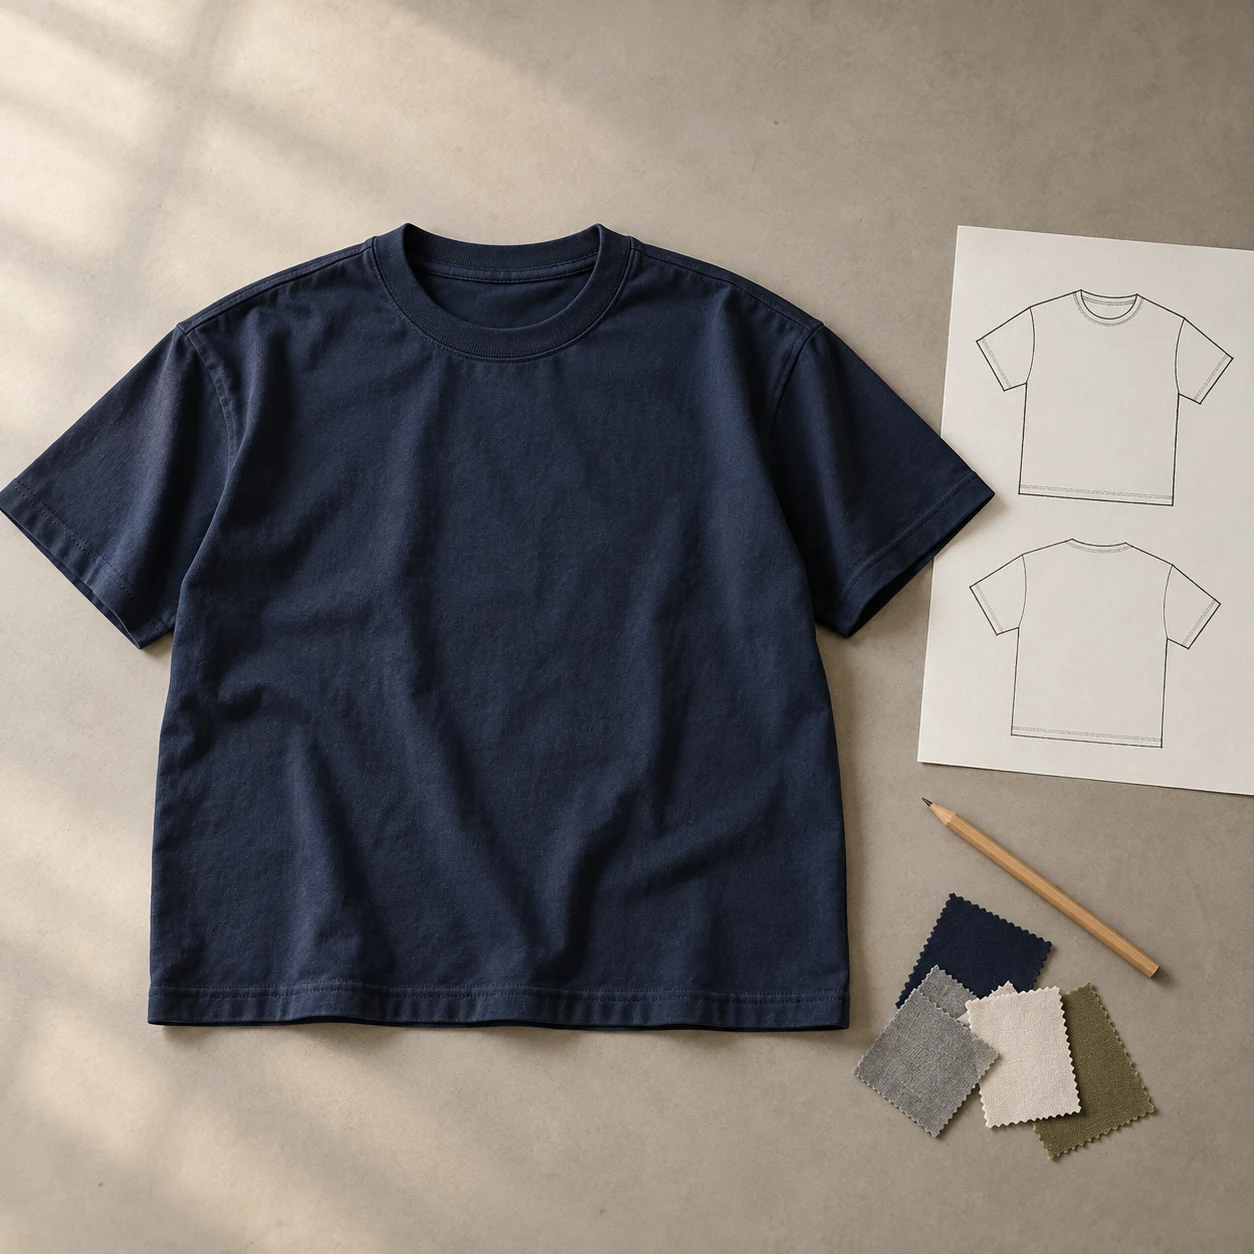
A photo can communicate silhouette, approximate proportions, color direction and decoration placement. It does not reliably establish composition, GSM, finished measurements, construction inside the garment or the rights to reproduce someone else’s artwork. A physical garment can add useful fit and construction context, but you still need to identify which features to keep and which to change.
Choose a small set of references with distinct jobs: one for body fit, one for fabric feel, another for a decoration direction if necessary. Label those roles in your brief. Do not send ten conflicting pictures and ask the factory to guess which detail matters. Use your own artwork or material you have permission to use; taking inspiration from a silhouette does not grant permission to copy a logo or protected design.
Step 1: send a minimum viable development brief
Start with the product type, intended wearer/use, fit reference, material direction, quantity plan and timing. If a number is unknown, write “please propose options” rather than inventing a technical measurement. The small-batch startup manufacturing program is designed around reviewing these practical inputs, including basic tech pack guidance.
| Field | What to write |
|---|---|
| Garment and use | Product type, intended customer, season and how the garment will be worn. |
| Fit reference | Photo/file names or a physical garment; identify the body, sleeve and neckline features to keep or change. |
| Material direction | Known composition/GSM, or the feel and structure you need with a request for suitable options. |
| Artwork and branding | Owned/authorized files, approximate locations and dimensions, labels and packing preferences. |
| Order plan | Approximate quantity per style/color, size range and whether this is sample-only or a proposed first bulk order. |
| Timing and destination | Target launch window, receiving market and any fixed event date. |
| Open questions | List the decisions you want the factory to help resolve before sampling. |
For example: “Develop an oversized short-sleeve cotton tee for our first capsule. Photo A shows the body proportion; our physical reference shows the neckline feel. Please propose suitable heavyweight jersey options. We are considering one color and 50 pieces across five sizes. Artwork is supplied separately; destination and launch window are stated in the request.” This is a development brief, not an approved production specification.
Step 2: agree what the factory will develop
Ask for a written scope before paying for development. It should identify the material sourcing direction, pattern or pattern adaptation, sample size, artwork mockup, included revisions, sample charges and expected deliverables. If grading, detailed technical drawings or specialist artwork preparation are not included, make that clear rather than discovering it at the bulk stage.
Yinuo offers free basic tech pack guidance. Confirm what that guidance covers for your brief; it does not automatically mean unlimited design work, a complete graded technical package or unrestricted pattern ownership. Sample fee credit toward eligible bulk orders is also available, with applicable conditions and amounts confirmed in the written quote.
Start from a relevant product route: a heavyweight T-shirt development brief and a hoodie development brief need different decisions. A hood, pocket, rib system and sleeve shape add interfaces that a T-shirt reference will not resolve.
Step 3: turn references into a measurable approval record
Choose the key measurement points and a sample size with the factory. Confirm how each point will be measured and whether the garment is measured before or after washing/finishing. Record the agreed fabric reference, color direction and artwork dimensions beside the fit details. Do not approve a whole style through scattered chat messages that contradict each other.
| Starting input | Required development output | Buyer approval |
|---|---|---|
| “I like this oversized fit” | Sample-size measurements and an identified pattern/reference version. | Body proportion, length, shoulder drop and sleeve behavior. |
| “Make it heavyweight and soft” | Named fabric reference, composition, construction and target finished weight. | Physical handle, drape and agreed care/finish state. |
| “Put our logo here” | Artwork version, dimensions, placement and proposed application method. | Mockup followed by the relevant physical decoration sample. |
| “Use our brand labels” | Label artwork, dimensions, positions and packing details. | Legibility, placement and agreed components. |
Step 4: review the sample, then control revisions
Check the sample against the agreed brief, not against memory. Separate fit corrections from changes of direction: shortening a sleeve to meet the approved measurement is different from replacing the entire silhouette after seeing the first sample. Send one consolidated revision list with annotated photos, measurements and an approval owner.
For printing or embroidery, use a decoration-specific review rather than approving a screen mockup as if it were a physical result. Agree any relevant wash, appearance and dimensional checks on the chosen substrate. Define acceptable outcomes before requesting evidence; do not assume the same tolerance suits every garment.
If fabric selection is the main uncertainty, a fabric swatch and sample pack can be an earlier decision tool. Confirm its contents and cost. It does not replace a style-specific, size-correct sample with your approved artwork and components.
Step 5: approve the bulk handover, not just the sample photo
Before bulk, confirm the final sample/reference version, measurement table, material and color references, artwork files, size breakdown, labels, packing and inspection plan. Resolve material substitutions explicitly. Agree what happens if the chosen fabric or trim cannot be sourced as quoted, rather than permitting an unspecified “equivalent.”
Use the existing tech pack preparation guide when you are ready to turn the first brief into a fuller document. Starting without one is a way to begin collaboration, not a reason to leave the production handover undocumented. Confirm access to final files, pattern/grading ownership and repeat-order references in the agreed development scope.
Send your references and configure a project request. Include what is known and the decisions you need help with. The right outcome of manufacturing without a tech pack is an approved, reproducible brief—not a factory guessing what you meant.
Can a factory quote from one photo?
It can assess a development direction or ask clarifying questions. A meaningful confirmed quote still needs the material, quantities, decoration and other scope decisions that a photo cannot establish.
Can I start with only a logo?
Yes, as an initial discussion. You will still need to choose a garment type, fit, material route and application method before approving the sample and bulk scope.