

Check seam puckering before production by comparing the same garment locations in an agreed condition, reviewing their appearance after the intended care process, and approving a traceable corrected sample when needed. Define the acceptable appearance with a physical reference or an agreed test result. A close-up photograph can flag a concern, but it cannot establish the cause or replace the acceptance criteria.
For an apparel buyer, the difficult decision is often whether a rippled pocket, uneven joining seam or wavy hem needs another sample round. “Improve sewing” leaves that decision open. A useful comment identifies the seam, the condition in which the issue appears and the evidence needed to close it.
Describe the seam appearance before naming the cause
For this review, seam puckering means unwanted small gathers or ripples associated with a stitched area. Record what you can see: wrinkles beside a pocket attachment, unevenness along a joining seam or a raised area between stitch rows. Keep an overall garment photograph so the detail remains connected to its location.
Do not group every appearance issue under the same label. Intentional gathering belongs to the design specification. A fold from packing, a seam rotating around the body and a hole beside a stitch require different observations. Where the terminology is uncertain, a marked image and a plain description are more useful than a confident diagnosis.
Start with the approved knit apparel seam construction. Identify the material layers, stitch arrangement and location. A pocket attachment and a stretch hem should not inherit the same approval merely because both use matching thread.
Record when the puckering becomes visible
Compare like with like. Give each sample a style, color, size, material identity and revision. Record whether it was inspected newly sewn, after factory finishing, after packing or after laundering. The sequence helps the supplier investigate without assuming that the first visible symptom identifies the cause.
| Review point | Evidence to retain | Decision it supports |
|---|---|---|
| Before final finishing | Location map, face and reverse views, sample identity. | Whether the sewing trial needs further investigation. |
| After the intended factory finish | The same locations, with pressing or other finishing recorded. | Whether the supplied appearance matches the reference. |
| After agreed care | Care procedure, cycle count, drying and assessment condition. | Whether seam appearance remains acceptable under the agreed review. |
Do not compare an unpressed trial with a heavily pressed approval sample without recording the difference. If the proposed correction is additional pressing, include that step in the trial and assess the garment again after the agreed care process. Approval should describe the condition buyers and inspectors can reproduce.
Make photographs useful for a seam puckering review
Photograph the garment relaxed on a suitable surface, without pulling the seam flat. Include a normal viewing image and a closer view that shows the stitches and adjacent fabric. Keep lighting, camera distance and orientation consistent across revisions. An extra angled-light image can reveal surface relief, but label it so it is not confused with the agreed acceptance view.
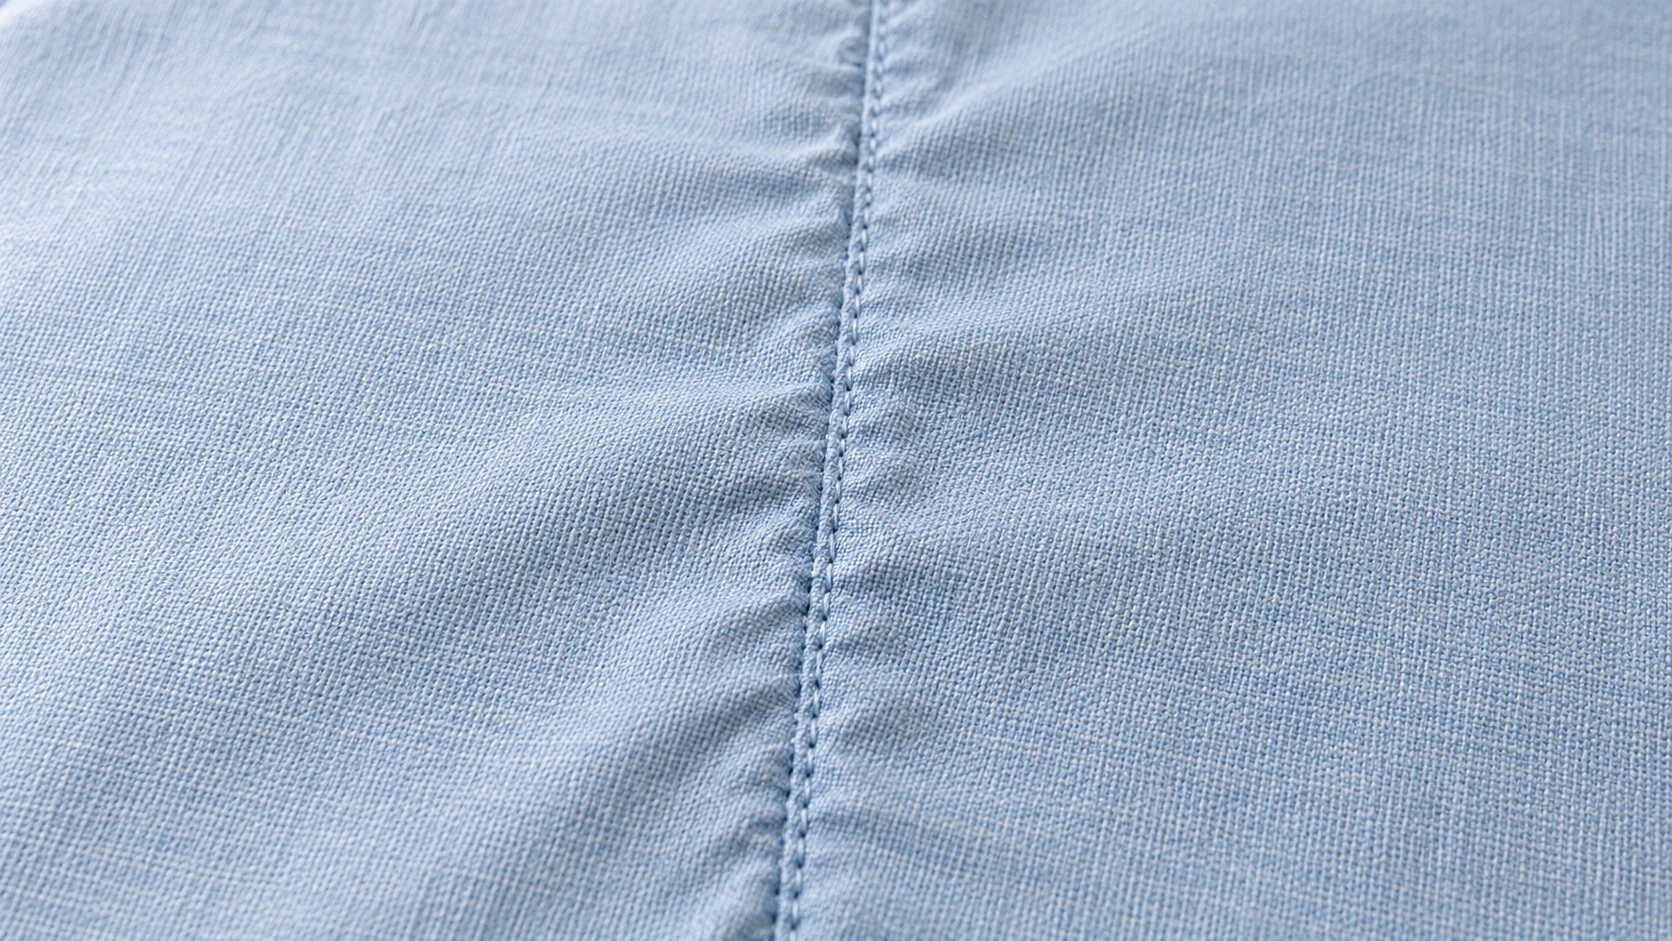
Ask for the reverse where the allowance or layer arrangement could matter. Avoid approving from a tightly cropped image that hides the garment location. If two reviewers disagree because of shadows, screen settings or viewing angle, send a physical sample or arrange the agreed laboratory assessment rather than assigning a grade from the photo.
Request a diagnosis and a controlled correction trial
Coats’ technical guidance on seam puckering identifies several contributors: thread tension, crowding of yarns around stitching, different dimensional changes among components and unequal fabric feeding. More than one can contribute. For example, materials joined together may respond differently to washing, while uneven feeding can leave different amounts of cloth held in the seam.
These are investigation routes, not diagnoses from a photograph. Ask the sewing technician to explain the suspected mechanism, the supporting observation and the proposed change. Keep destructive seam-opening checks on designated investigation samples; retain the approval reference intact.
Request a trial record showing the original setup, the changed variable or defined group of changes, and the resulting sample identity. If thread, stitch density or construction changes, review the relevant functional requirements again. A flatter-looking seam does not by itself establish adequate extension, durability or wearer comfort.
Use an agreed laundering and assessment basis
The public scope of AATCC TM88B-2018te addresses seam smoothness after home laundering and covers washable woven, knitted and nonwoven fabrics. It evaluates the seam as supplied; it does not prescribe how the seam must be sewn. Ask the laboratory to confirm the applicable method and edition when formal testing is required.
AATCC also provides photographic seam-smoothness scales for the relevant evaluations. Do not invent a numerical grade from a website image or present an informal sample review as a compliant test. Agree the required result, care options and reporting details with the buyer and laboratory before testing.
For an internal development check, write down the wash and dry procedure, number of cycles, sample preparation and viewing conditions. Keep measurements within the separate garment shrinkage approval record. Passing the measurement limits does not automatically approve seam appearance, and an attractive seam does not establish dimensional stability.
Turn “better” into a clear acceptance decision
Use an approved physical appearance reference, a specified test requirement or both. State which garment areas the decision covers and whether approval applies before care, after care or in both conditions. Avoid “no puckering” as the entire instruction when reviewers have no shared viewing condition or comparison reference.
Example approval comment: “Lower pocket attachment remains open for approval. Submit the revised sample with the same material specification, document the construction change, and provide the agreed before-care and after-care evidence. Compare it with the retained appearance reference.” This is an example of a buyer comment, not a production result or universal acceptance limit.
Keep defect severity separate from the appearance evidence. The agreed garment defect classification should account for location, visibility and impact on the intended product. Do not automatically classify every ripple as major, or every small ripple as minor, without the order’s agreed criteria.
Close the seam puckering approval before bulk release
Link the accepted correction to the retained production reference and the current construction sheet. If the fabric, thread, relevant trim or finishing route changes, decide which evidence must be repeated before extending the approval.
- Garment and seam location, sample identity and specification revision.
- Appearance reference and the conditions in which it applies.
- Investigation finding, correction and traceable trial sample.
- Care procedure and any required laboratory report.
- Functional checks affected by the construction change.
- Reviewer, decision date, remaining exceptions and release scope.
For a seam puckering discussion with Yinuo Apparel, send the tech pack, material details, marked garment photos, current sample comments and intended care requirements. Include the sample stage and approval deadline so the team can discuss which comparison or trial is needed before the next production decision.