

Specify stripe matching by marking the garment locations that must align, identifying the stripe edge or center used as the reference, and agreeing how any offset will be assessed on the finished sample. Give the cutting planner the actual fabric repeat and pattern revision before approving consumption. A general instruction to “match all stripes” leaves too many design, sewing and costing decisions unresolved.
A striped top can look balanced from the front while a side seam or applied pocket interrupts the pattern. The useful buyer decision is which relationships define the intended appearance. Once those priorities are clear, the supplier can review feasibility, plan the layout and submit a sample that answers the right questions.
Start with a stripe matching map
Annotate the front, back and relevant detail drawings in the apparel tech pack. Name the joining edges and the exact locations where the visual relationship matters. Keep pattern placement on a single piece separate from alignment between two pieces.
Gerber’s official CutWorks nesting documentation distinguishes placing a part against a fabric repeat from matching related parts to each other. It also describes match lines used to preserve pattern flow when pieces are sewn together. This is a useful planning distinction, regardless of the supplier’s software.
| Location | Decision to make | Reference to provide |
|---|---|---|
| Front body | Which band should fall at a named garment point? | Stripe identity and a placement point on the drawing. |
| Side seam | Where must front and back bands meet? | Named seam points and the same stripe reference on each panel. |
| Applied pocket | Should it blend into the body pattern or contrast deliberately? | Pocket position and intended relationship to the body bands. |
| Left and right sleeves | Is visual symmetry required, and where is it checked? | Paired locations shown in the agreed garment presentation. |
| Curved joins | Which checkpoints or zones must align? | A feasible reference agreed with the pattern and sewing teams. |
Do not assume a curved armhole can reproduce the same continuous alignment as a straight join. Ask the pattern maker to show the proposed relationship and agree the visible checkpoints. Intentional differences, such as a contrast pocket or differently oriented panel, should be drawn and approved explicitly.
Identify the repeat on the actual fabric
Send a fabric image or swatch that shows the full repeating sequence. For alternating wide and narrow bands, one band width is not the complete repeat. Record the colors in order, the direction of the stripes relative to the material, and the stage at which the repeat was measured. Avoid relying on a mood image whose scale is unknown.
Ask the supplier to verify the repeat on the production-intent finished material. If the fabric has visible curvature, angled bands or variation across a roll, request marked photographs and a feasibility review. Moving pattern pieces to align one point may not resolve an irregular pattern throughout the garment.
Keep the repeat information connected to the usable fabric width and any agreed orientation restrictions. The cutting planner needs both the available cutting area and the matching relationships. Do not change the approved grain direction merely to make one photographed band appear aligned.
Define offset at the finished seam
Select a consistent reference, such as the upper edge of a named dark band. State the garment location, direction of measurement and permitted offset there. Use units and a marked sketch if a numerical tolerance is agreed. The stripe center and its upper edge are different references; switching between them makes sample comments difficult to compare.
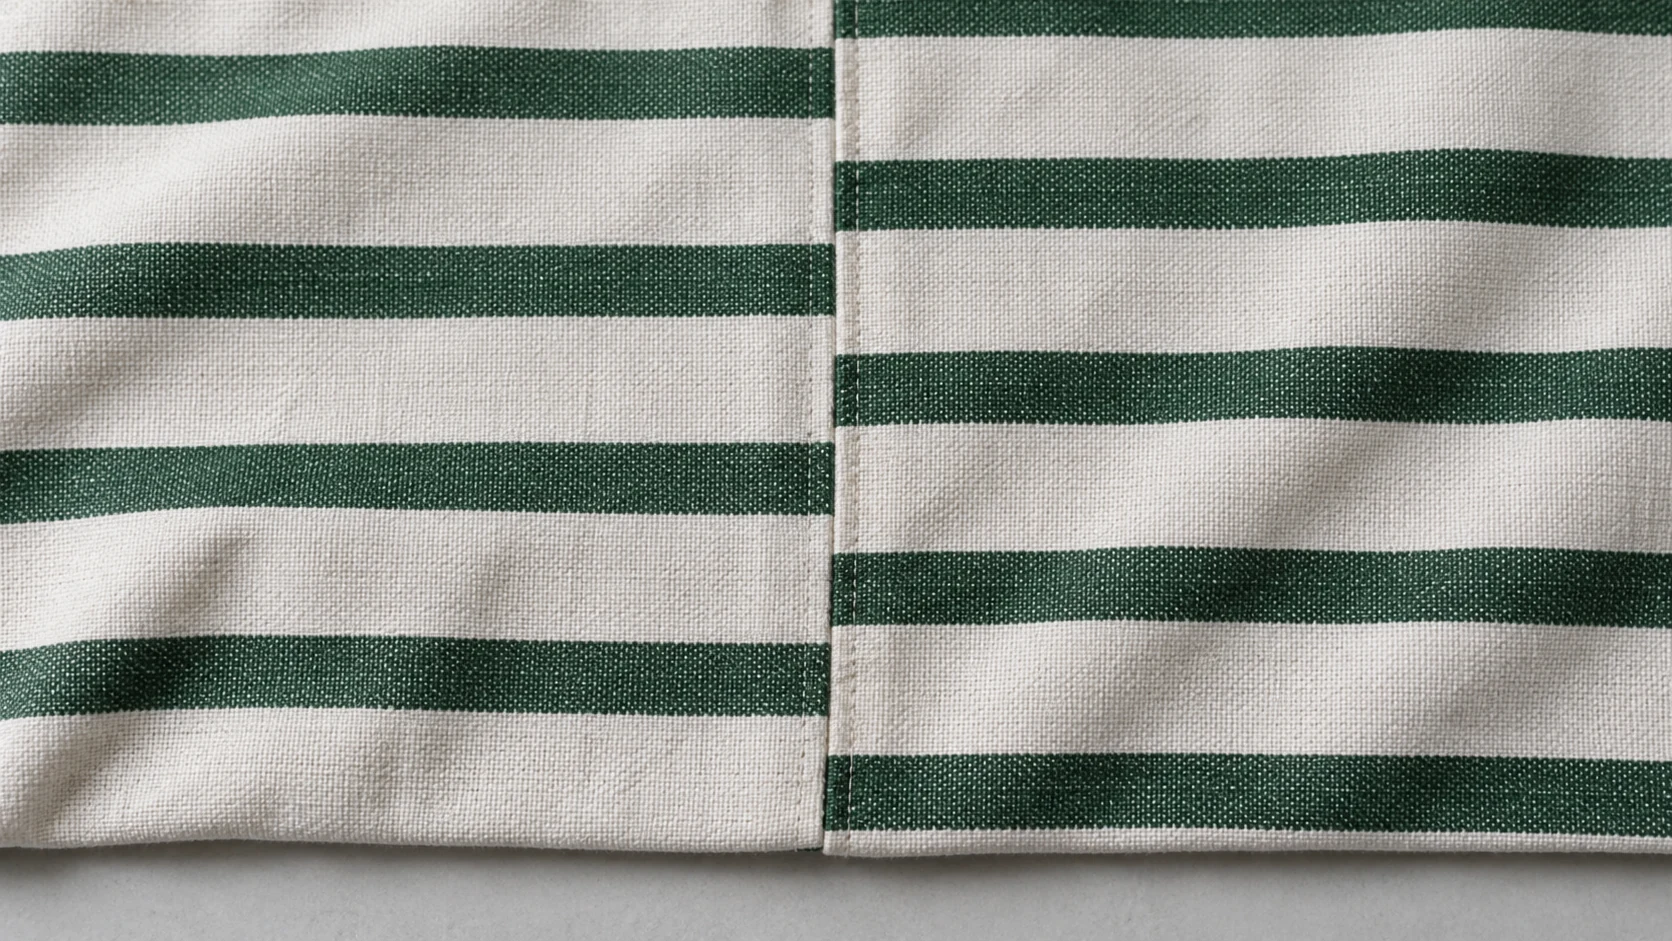
Assess the sewn sample in the agreed relaxed condition. Matching raw cut edges does not by itself establish matching at the final seam, where the allowance and assembly determine the visible relationship. Photograph the whole location and the detail without stretching the fabric to hide an offset.
Set tolerances for the intended design with the supplier rather than importing one universal value. A broad band, a fine stripe and a deliberately interrupted motif may need different visual criteria. If a photo cannot resolve a borderline decision, compare the physical sample with the agreed reference.
Price the layout with the matching rules included
Request the consumption basis for the striped design, including fabric repeat, usable width, pattern revision, size mix and matching map. Ask the planner to explain where the required alignment constrains placement. A plain-fabric estimate is not sufficient evidence for the same style with additional matching requirements.
Gerber’s AccuPlan marker-library guidance treats fabric width, utilization and matching criteria as distinct search inputs. When a supplier proposes reusing a marker, ask whether its matching rules and fabric repeat fit the current order, alongside its dimensions and size composition.
For a useful custom-clothing cost comparison, request defined options against the same material and quantities. One design option might prioritize the visible pocket-to-body relationship; another might add named side-seam checkpoints. These are illustrative scope choices, not promises of a particular saving. Review the actual estimate and sample before choosing.
Avoid adding a fixed percentage for matching waste without a layout basis. Ask how the estimate accounts for the repeat, cutting arrangement and agreed losses. If priorities change after quotation, update both the technical specification and the commercial assumptions.
Review size changes and the production route
An approved base-size garment answers only the relationships visible on that sample. Ask how the stripe placement and matching references carry through the graded size range. Specify whether a band stays at a fixed named point or follows another agreed placement rule as dimensions change.
Review representative size samples where the pattern or placement raises an open question. Keep fit and measurements within their own approvals. Moving a pocket or altering a seam to improve alignment requires review of the other product decisions affected by that change.
Ask how the proposed spreading, cutting, panel identification and sewing route preserves the matching map. A development sample may have been individually arranged; discuss the evidence needed to establish that the intended bulk route can reproduce the accepted relationships. If panel bundles are regrouped or a part is recut, retain the identities needed to check its matching partner.
Release stripe matching with a traceable reference
Retain the accepted garment through the production-reference workflow, with annotated images and the current matching map. Record the fabric article and repeat, named alignment locations, reference band, tolerances, sample condition, approved exceptions and reviewer. Keep the cutting and inspection teams working from the same revision.
Reopen the affected approval if the fabric repeat, pattern, pocket placement or matching scope changes. A previous sample remains useful context, but it should not silently authorize a different relationship.
For a stripe matching review with Yinuo Apparel, send the tech pack, full-repeat fabric image or swatch, priority seam map, size and quantity breakdown, and any appearance reference. Include the open tolerances and current consumption estimate so the team can discuss feasibility and the sample evidence needed before cutting release.